
Sunday, June 20, 2010
New use for floppies - data transfer
I've been receiving a lot of emails lately with uses for your old floppy disks. Well, I've discovered another use of my own, and it's quite unexpected I do say. Apparently you can use them to store data and transfer it between two computers!
Here's how it works.
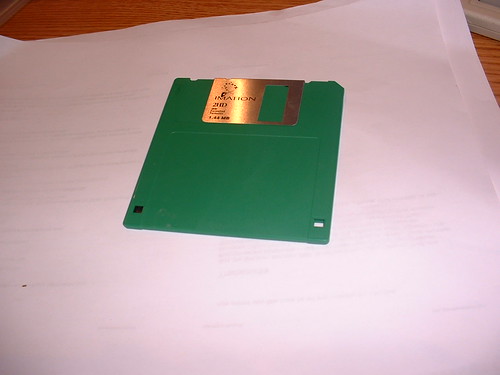
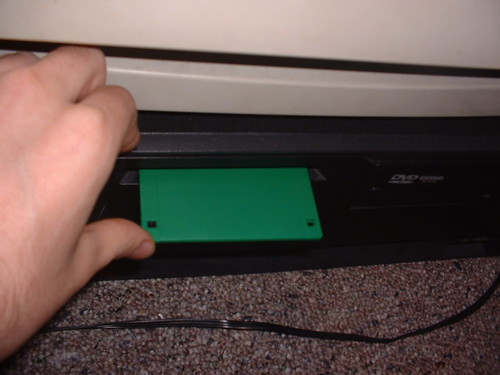
1. First select a sturdy floppy. Color doesn't matter. I have chosen green.
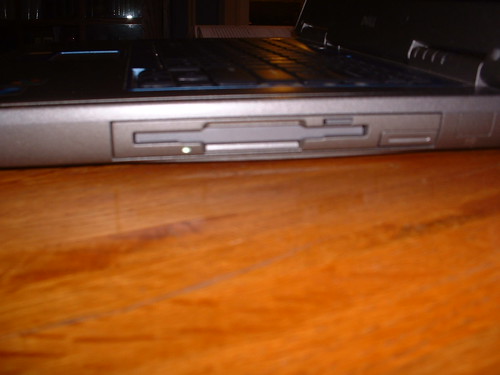
2. Locate the floppy drive. It is a small door about the same size of the disk.
3. Start inserting the disk with the shiny end towards the computer.
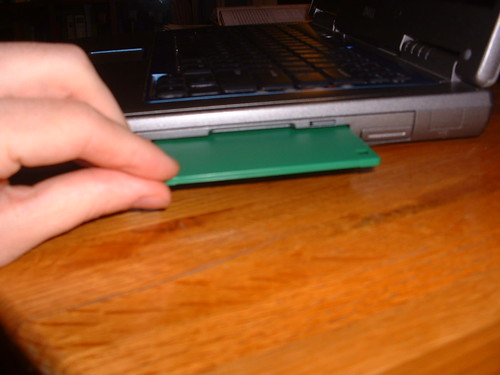
4. Insert until the disk clicks into place. No further.
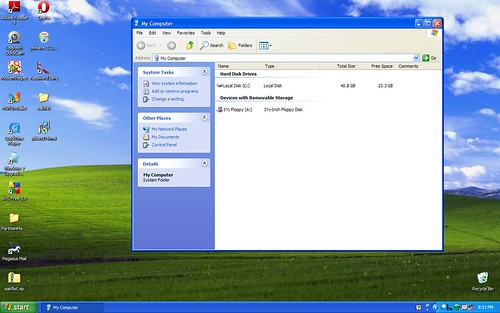
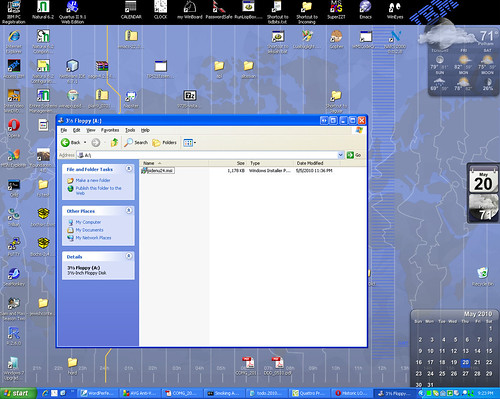
5. Open My Computer or otherwise navigate to the floppy drive in your operating system of choice.
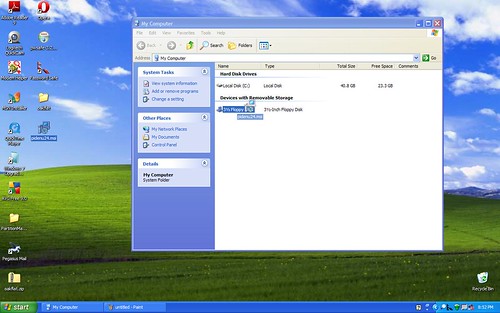
6. Drag file the file that you want to transfer to the floppy drive. Not too big!
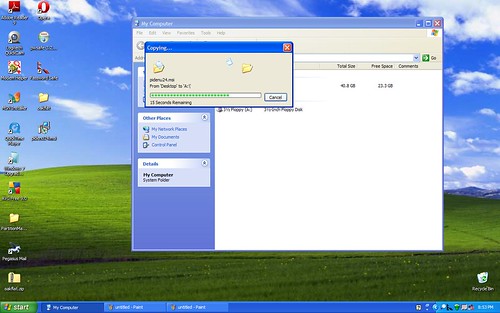
7. Wait for the transfer to finish. You may wish to get a cup of coffee.
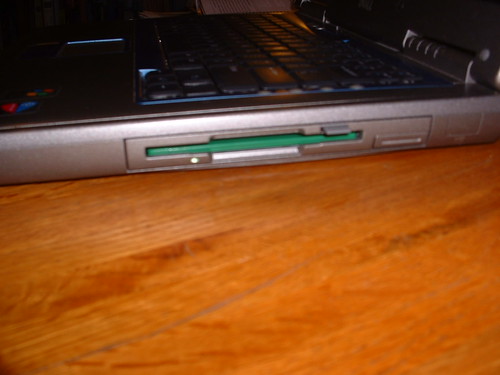
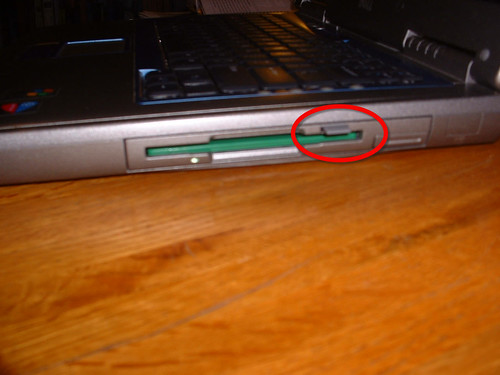
8. Locate and push eject button. It is usually on the upper right side of the floppy. It is circled in red below.
9. Insert the disk into another computer, using the same procedure as above.
10. You can now view the files on the other computer using the method of your choice.
Congratulations, you're done! Now in only ten simple steps you can put your old floppies to good use.
Album
Here's how it works.
1. First select a sturdy floppy. Color doesn't matter. I have chosen green.
2. Locate the floppy drive. It is a small door about the same size of the disk.
3. Start inserting the disk with the shiny end towards the computer.
4. Insert until the disk clicks into place. No further.
5. Open My Computer or otherwise navigate to the floppy drive in your operating system of choice.
6. Drag file the file that you want to transfer to the floppy drive. Not too big!
7. Wait for the transfer to finish. You may wish to get a cup of coffee.
8. Locate and push eject button. It is usually on the upper right side of the floppy. It is circled in red below.
9. Insert the disk into another computer, using the same procedure as above.
10. You can now view the files on the other computer using the method of your choice.
Congratulations, you're done! Now in only ten simple steps you can put your old floppies to good use.
Album
![]()